
Creating a unique and eye-catching jewelry box isn’t just about aesthetics; it’s about enhancing the overall value and appeal of your jewelry. In this guide, we’ll walk you through each crucial step to ensure your jewelry box stands out, from conceptualization to production.
Why You Need to Design a Gift Box for Your Jewelry?
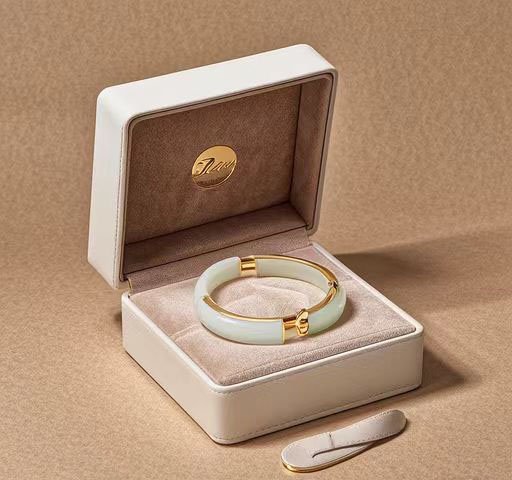
A well-designed gift box can significantly impact the perceived value of your jewelry. It provides a memorable unboxing experience, reinforces your brand, and protects the jewelry. A thoughtfully crafted box speaks volumes about the quality and detail of the product inside, creating a lasting impression on the customer.
What You Need to Get Started Designing a Jewelry Box?
Before diving into the design process, gather the following materials and tools:
Design software (Adobe Illustrator, CorelDRAW), or if you don’t have access to these, you can just use a draft outline on paper.

Material samples (cardboard, rigid boxes, eco-friendly options) Obtain available samples from other brands, or simply request some from a paper packaging factory.
Inspiration resources (Pinterest, design blogs)- Reference similar jewelry brands, or discover inspiring designs on various sharing platforms.
Brand guidelines (logos, color schemes, fonts) -The packaging box should typically align with your brand identity, including elements such as color scheme, graphic design, and front print.
Designing the Jewelry Box
Confirm the Box Size
Ensuring the precise dimensions of your packaging box is essential for both protecting your jewelry and enhancing its presentation. When confirming the box size, consider the following key factors.
Jewelry Dimensions: Accurately measure the length, width, and depth of each jewelry piece. This information is crucial to ensure a snug fit without causing any damage.
Box Length, Width, and Depth:
Length: Measure from the front to the back of the jewelry, including any protruding parts.
Width: Measure the widest part of your jewelry.
Depth: Consider the height of the jewelry piece when lying flat, including any embellishments.
Additional Space for Presentation:
Allow for a small amount of extra space to enhance the presentation. This ensures the jewelry is showcased optimally without appearing cramped.
By meticulously confirming your box dimensions, including interior inserts, you ensure that each piece of jewelry is perfectly accommodated. This attention to detail not only provides superior protection but also enhances the unboxing experience for your customers.
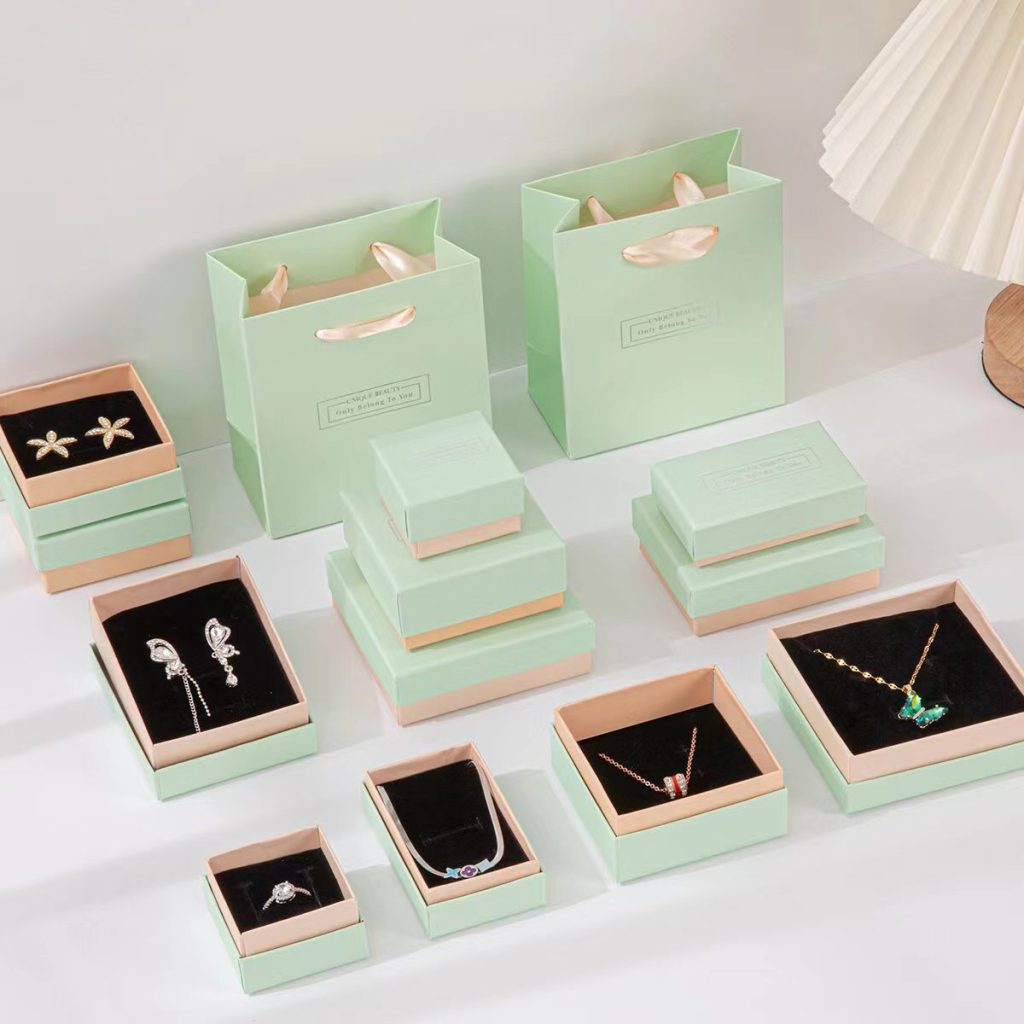
Choose the Right Material
Selecting the appropriate material for your jewelry box is crucial in reflecting the quality and elegance of your pieces. The right material not only ensures protection during storage and transportation but also enhances the unboxing experience for your customers. Here’s a guide to help you choose the right material for your jewelry packaging:

A Cardboard: Pros: Lightweight, recyclable, and cost-effective. Can be easily printed with high-quality graphics. Cons: May not provide the highest level of protection for delicate items.
B Paperboard: Pros: Slightly more durable than regular cardboard, often used for high-quality printing and intricate designs. Cons: May not offer the ruggedness needed for heavier jewelry pieces.
C Corrugated Paper: Pros: Provides superior protection with its multiple layers. Ideal for shipping. Cons: Bulkier and may not always be suitable for high-end presentation.
D Specialty Papers (Kraft, Art Paper): Pros: Eco-friendly options that can be customized with various textures and finishes. Cons: Generally more expensive and may require special print techniques.
Consider the nature and value of your jewelry, as well as your brand’s image, when selecting the material for your packaging. Remember, the right material can leave a lasting impression and elevate the perceived value of your jewelry.
Printing Elements Design – Artwork
- Branding Elements: Ensure your logo, brand colors, and typography are prominently featured.
- Graphics and Patterns: Integrate aesthetic elements that align with your brand’s identity.
- User Experience: Design with the unboxing experience in mind, including placement of elements and ease of opening.
Surface Finishing
Logo: Techniques such as foil stamping, embossing, and debossing can add a premium touch.
Special Finishes: Consider UV coating for extra gloss or matte lamination for a luxurious feel. Both can enhance the appeal and durability of your box.
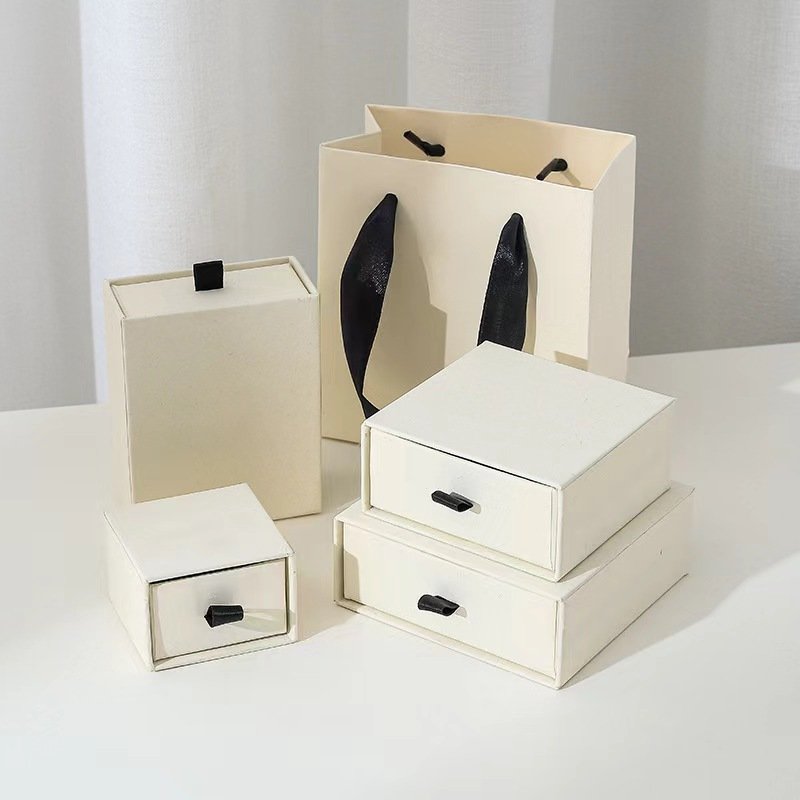
Insert
Material Choices: Options include foam, velvet, and cardboard, each providing different levels of cushioning and presentation.
Custom Fit: Tailor inserts to the exact shape and size of your jewelry to keep it secure and display it attractively.
Request a Proto Sample from Packaging Factory
Before proceeding to mass production, request a prototype sample from your chosen packaging factory. This sample allows you to:
Review Quality: Check the material quality, print accuracy, and overall construction.
Test Fit: Ensure the jewelry fits perfectly and securely within the box.
Make Adjustments: Identify and rectify any design flaws or measurement errors early on.
Start the Production
With the prototype approved, you can confidently move to the production phase. Ensure continuous communication with the factory to:
Monitor Quality Control: Regularly check the production process to maintain consistency in quality.
Handle Adjustments Promptly: Be prepared to make any necessary adjustments on the fly to avoid delays.
By following this detailed guide, you’ll be well on your way to creating a jewelry box that not only protects your pieces but also elevates your brand and delights your customers.
If you just have an idea, no worries, just Contact us, we will help you to work it out to real sample!
